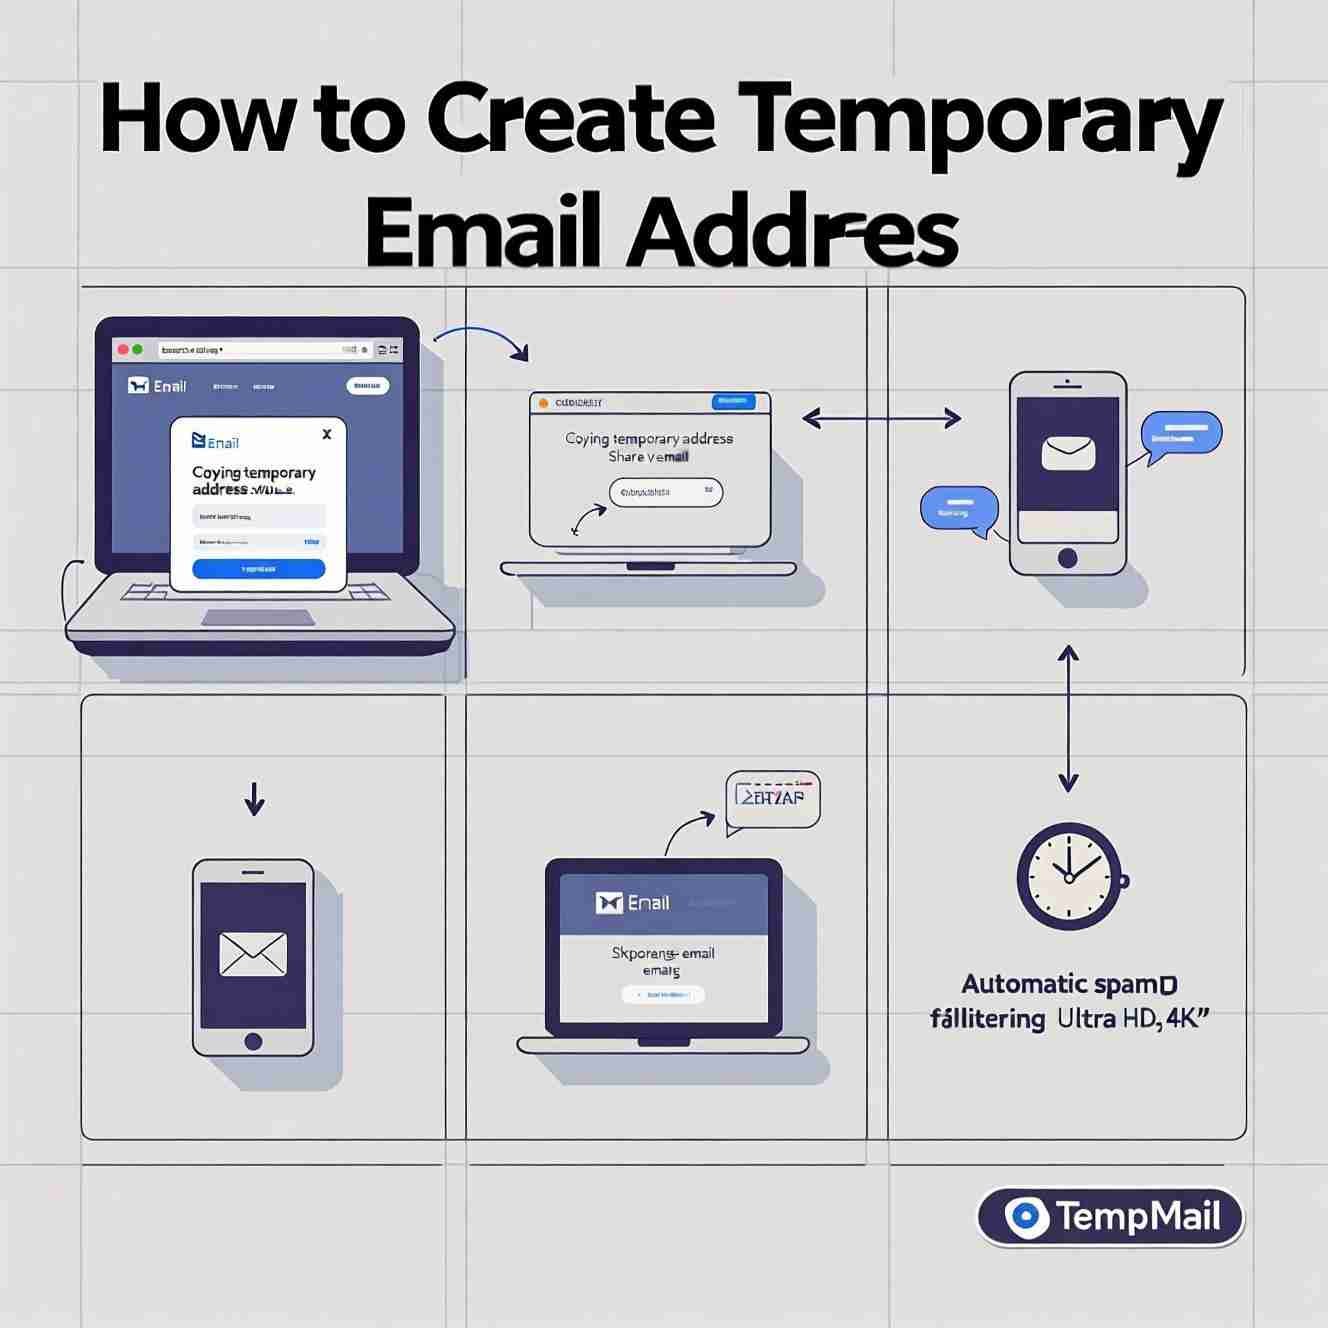
How to Create Temporary Email Addresses in 5 Simple Steps
In today's digital landscape, protecting your privacy online has become more important than ever. Whether you're signing up for a new service, downloading a free e-book, or testing a website's functionality, temporary email addresses offer a secure way to maintain your privacy while avoiding spam and unwanted marketing emails. Here's how to create temporary email addresses in just five simple steps.
What Are Temporary Email Addresses?
Temporary email addresses, also known as disposable or burner emails, are email addresses that exist for a short period of time. They allow you to receive emails without revealing your personal email address, making them perfect for one-time registrations, online shopping, or situations where you're unsure about the legitimacy of a service.
Step 1: Choose a Temporary Email Service
The first step in creating a temporary email address is selecting a reliable service provider. Some popular options include:
-
- tempmail-edu.com: Offers multiple domain options and mobile apps
-
- tempmail-edu.com: Allows public inbox viewing (use with caution)
-
- tempmail-edu.com: Self-explanatory name with automatic expiration
-
- tempmail-edu.com: Provides customizable addresses and extensions
-
- tempmail-edu.com: Offers both temporary and permanent secure email options
When choosing a service, consider factors such as reliability, ease of use, expiration time, and whether you need the address to persist beyond a single session.
Step 2: Navigate to the Service Website
Once you've selected your preferred temporary email service, open your web browser and navigate to the website. Most temporary email services work directly in your browser without requiring any downloads or installations.
Look for a clean, professional interface that doesn't bombard you with excessive advertisements or suspicious pop-ups. A reputable service will have clear instructions and a simple interface for generating temporary addresses.
Step 3: Generate Your Temporary Email Address
Most temporary email services will automatically generate an email address for you upon visiting their website. This usually happens instantly and requires no additional input from you.
If you need a specific username or want to customize your temporary email address, look for options to modify the generated address. Some services allow you to:
-
- Choose from different domain extensions
-
- Create a custom username
-
- Select the expiration time
-
- Generate multiple addresses simultaneously
Step 4: Use Your Temporary Email Address
With your temporary email address created, you can now use it for its intended purpose. Copy the email address carefully to avoid typos, and paste it into the required field on the website or service where you need it.
Common use cases include:
-
- Online shopping registrations
-
- Free trial sign-ups
-
- Newsletter subscriptions
-
- Downloading digital content
-
- Testing website forms
-
- Social media account verification
Remember that some services might require email verification, so keep your temporary email tab open until you've completed the verification process.
Step 5: Monitor and Manage Your Temporary Inbox
Once you've submitted your temporary email address, return to the temporary email service's website to monitor your inbox. Most services will automatically display incoming emails in real-time or refresh periodically to check for new messages.
Check for:
-
- Verification emails from the service you're using
-
- Confirmation links or codes
-
- Important information or downloads
-
- Any suspicious or unwanted messages
Some services allow you to extend the life of your temporary email address or save important messages before deletion.
Important Considerations
While temporary email addresses offer convenience and privacy protection, keep these important points in mind:
Security and Privacy
-
- Avoid using temporary emails for sensitive accounts like banking or healthcare
-
- Don't use them for services requiring long-term communication
-
- Be aware that some temporary email services may be monitored or have public inboxes
Legitimate Use Cases
-
- Online shopping from unfamiliar retailers
-
- One-time downloads or registrations
-
- Testing website functionality
-
- Protecting your primary email from spam
-
- Social media account creation
Limitations
-
- Most temporary emails expire automatically
-
- Some important services may not accept temporary email addresses
-
- You may miss important follow-up communications
-
- Account recovery becomes impossible if you lose access
Conclusion
Creating temporary email addresses is a simple yet powerful way to protect your privacy online and reduce unwanted email spam. By following these five straightforward steps, you can quickly generate disposable email addresses for various online activities while keeping your personal information secure.
Remember to choose reputable services, use temporary emails appropriately for their intended purpose, and always consider the security implications of sharing any email address online. With these practices in place, temporary email addresses can be an invaluable tool in your digital privacy toolkit.
Whether you're a privacy-conscious internet user, a developer testing applications, or someone who simply wants to reduce email clutter, temporary email addresses provide a practical solution for maintaining control over your digital identity.